
Recently I had a request from a friend to take a suit coat that he found
at the dig n save and create a copy of a vest he owned. Of course I was
up for the challenge so here is what I did. I made a pattern from the
original vest, it was pretty straight forward,only 4 pieces and a simple patch pocket. From this I created a muslin copy and was ready to do a first fitting.

 |
| I ripped open and gutted the suit coat, removed the sleeves, collar pieces, flap pockets, and opened up the facing. |
 |
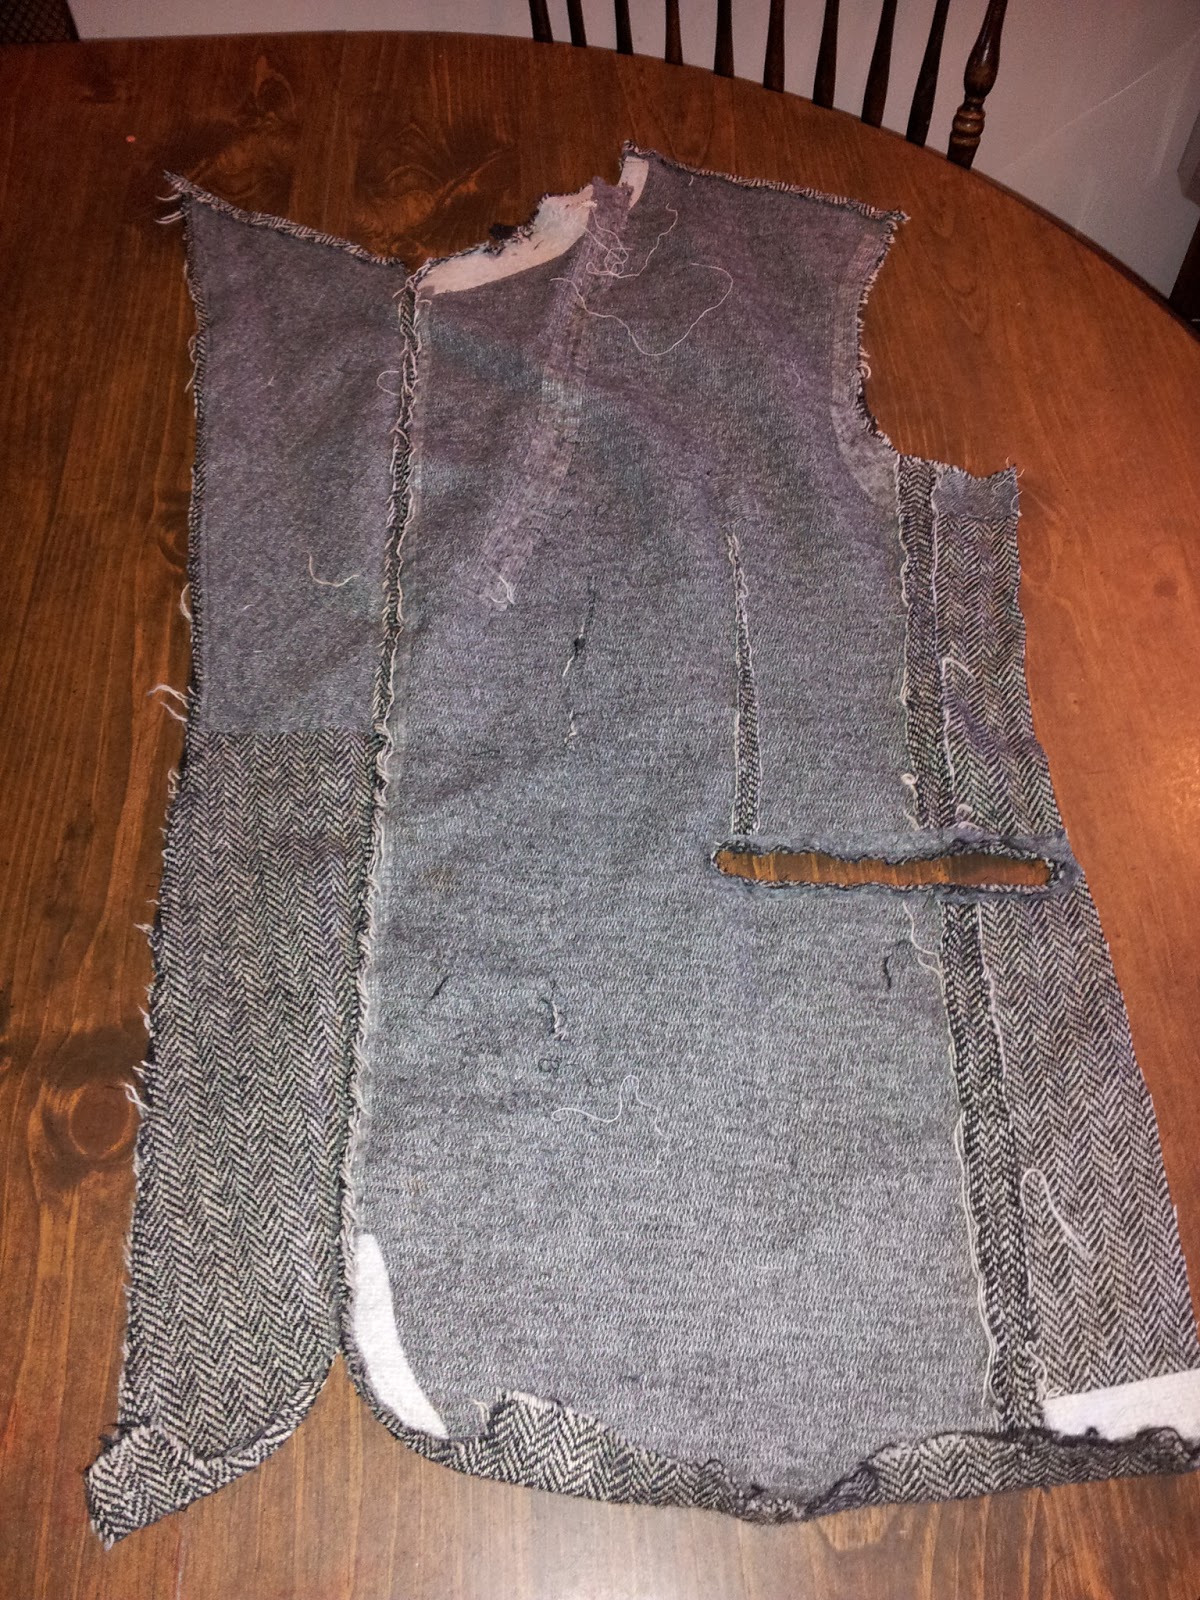
| Here I reinforced the original seams by serging them, then I top stitched on the front side to make sure the seams stayed flat. |
|
|
|
|
 |
| You can see the slip opening on the right side where I removed the pocket, it needed to be closed. You can't just sew it shut because it will create a weird pucker on the front where the seam starts and stops, it just doesn't look right. |
 |
| My solution was to completely cut the piece in half through the pocket opening and resew it together creating a nice, clean seam. |
 |
| Ta Da!! Though I did have to rip it out once and realign the chevron pattern. | | | | |
|
 |
| These are the back pockets and new flaps, lined in red flannel that was once a bed sheet. The pockets and flaps were cut from the leftover sleeve pieces from the suit. |
 |
| I serged around the edges to join the lining, turned under the edge and stitched. |
|
|

| | I stitched together the shoulder and side seams, I also took and extra step and serged all the edges of the vest, the arm holes, bottom hem edge, front facing edges to help the vest not stretch out of shape. Then I added the pockets. |
|
|
|
|
|
|
|
|
|
|
|
 |
| I used the red flannel throughout the vest as the lining. The lining was
constructed like the vest, stitched the shoulders and side seams then
it was placed into the vest, wrong sides together so there were no
exposed seams. Now I didn't take a picture of the facing when it was
put on, but I used a lightweight grey wool that was sewn onto the left
side of this front piece and it went all the way around to the other
front vest piece, it created and inner back neck facing as well. Once
the grey facing was added, I used a black binding to cover the seams, it
added a nice decorative touch. |
 |
| I used the same black binding to finish the arm holes and bottom hem edge on the inside, of course I didn't get a photo of that either. For the arm hole openings I stitched on the binding covering the serged edge then pressed it to the inside and stitched it down so the binding does not show on the outside of the vest. |
|
 |
| Here is the finished product. My friend who now owns this is big into cycling so the pockets on the back were ideal for his needs. I enjoyed the challenge of making this and really like how it turned out. I love taking old garments and giving them face lifts, bringing dead fashions to life!! |
 Recently I had a request from a friend to take a suit coat that he found
at the dig n save and create a copy of a vest he owned. Of course I was
up for the challenge so here is what I did. I made a pattern from the
original vest, it was pretty straight forward,only 4 pieces and a simple patch pocket. From this I created a muslin copy and was ready to do a first fitting.
Recently I had a request from a friend to take a suit coat that he found
at the dig n save and create a copy of a vest he owned. Of course I was
up for the challenge so here is what I did. I made a pattern from the
original vest, it was pretty straight forward,only 4 pieces and a simple patch pocket. From this I created a muslin copy and was ready to do a first fitting. 


